Fixing Atari's Anti-Aircraft (1975)
Anti-Aircraft is the fourth arcade pcb I have bought. At the time, I had not made meaningful progress in fixing my Olympic Tennis or QWAK! boards. When it arrived, it had a crack in it, and was warped as well.
It was missing the crystal and the game time potentiometer. I was already aware of this, because I spent several weeks looking at the pictures, wondering when someone was going to buy it. Then, the price was dropped by 50%, and I jumped at the chance! I knew the crack would be easy to fix, (but tedious) and I had parts on hand to replace the missing ones, but the thought of trying to fix the negative voltage circuit stressed me out.
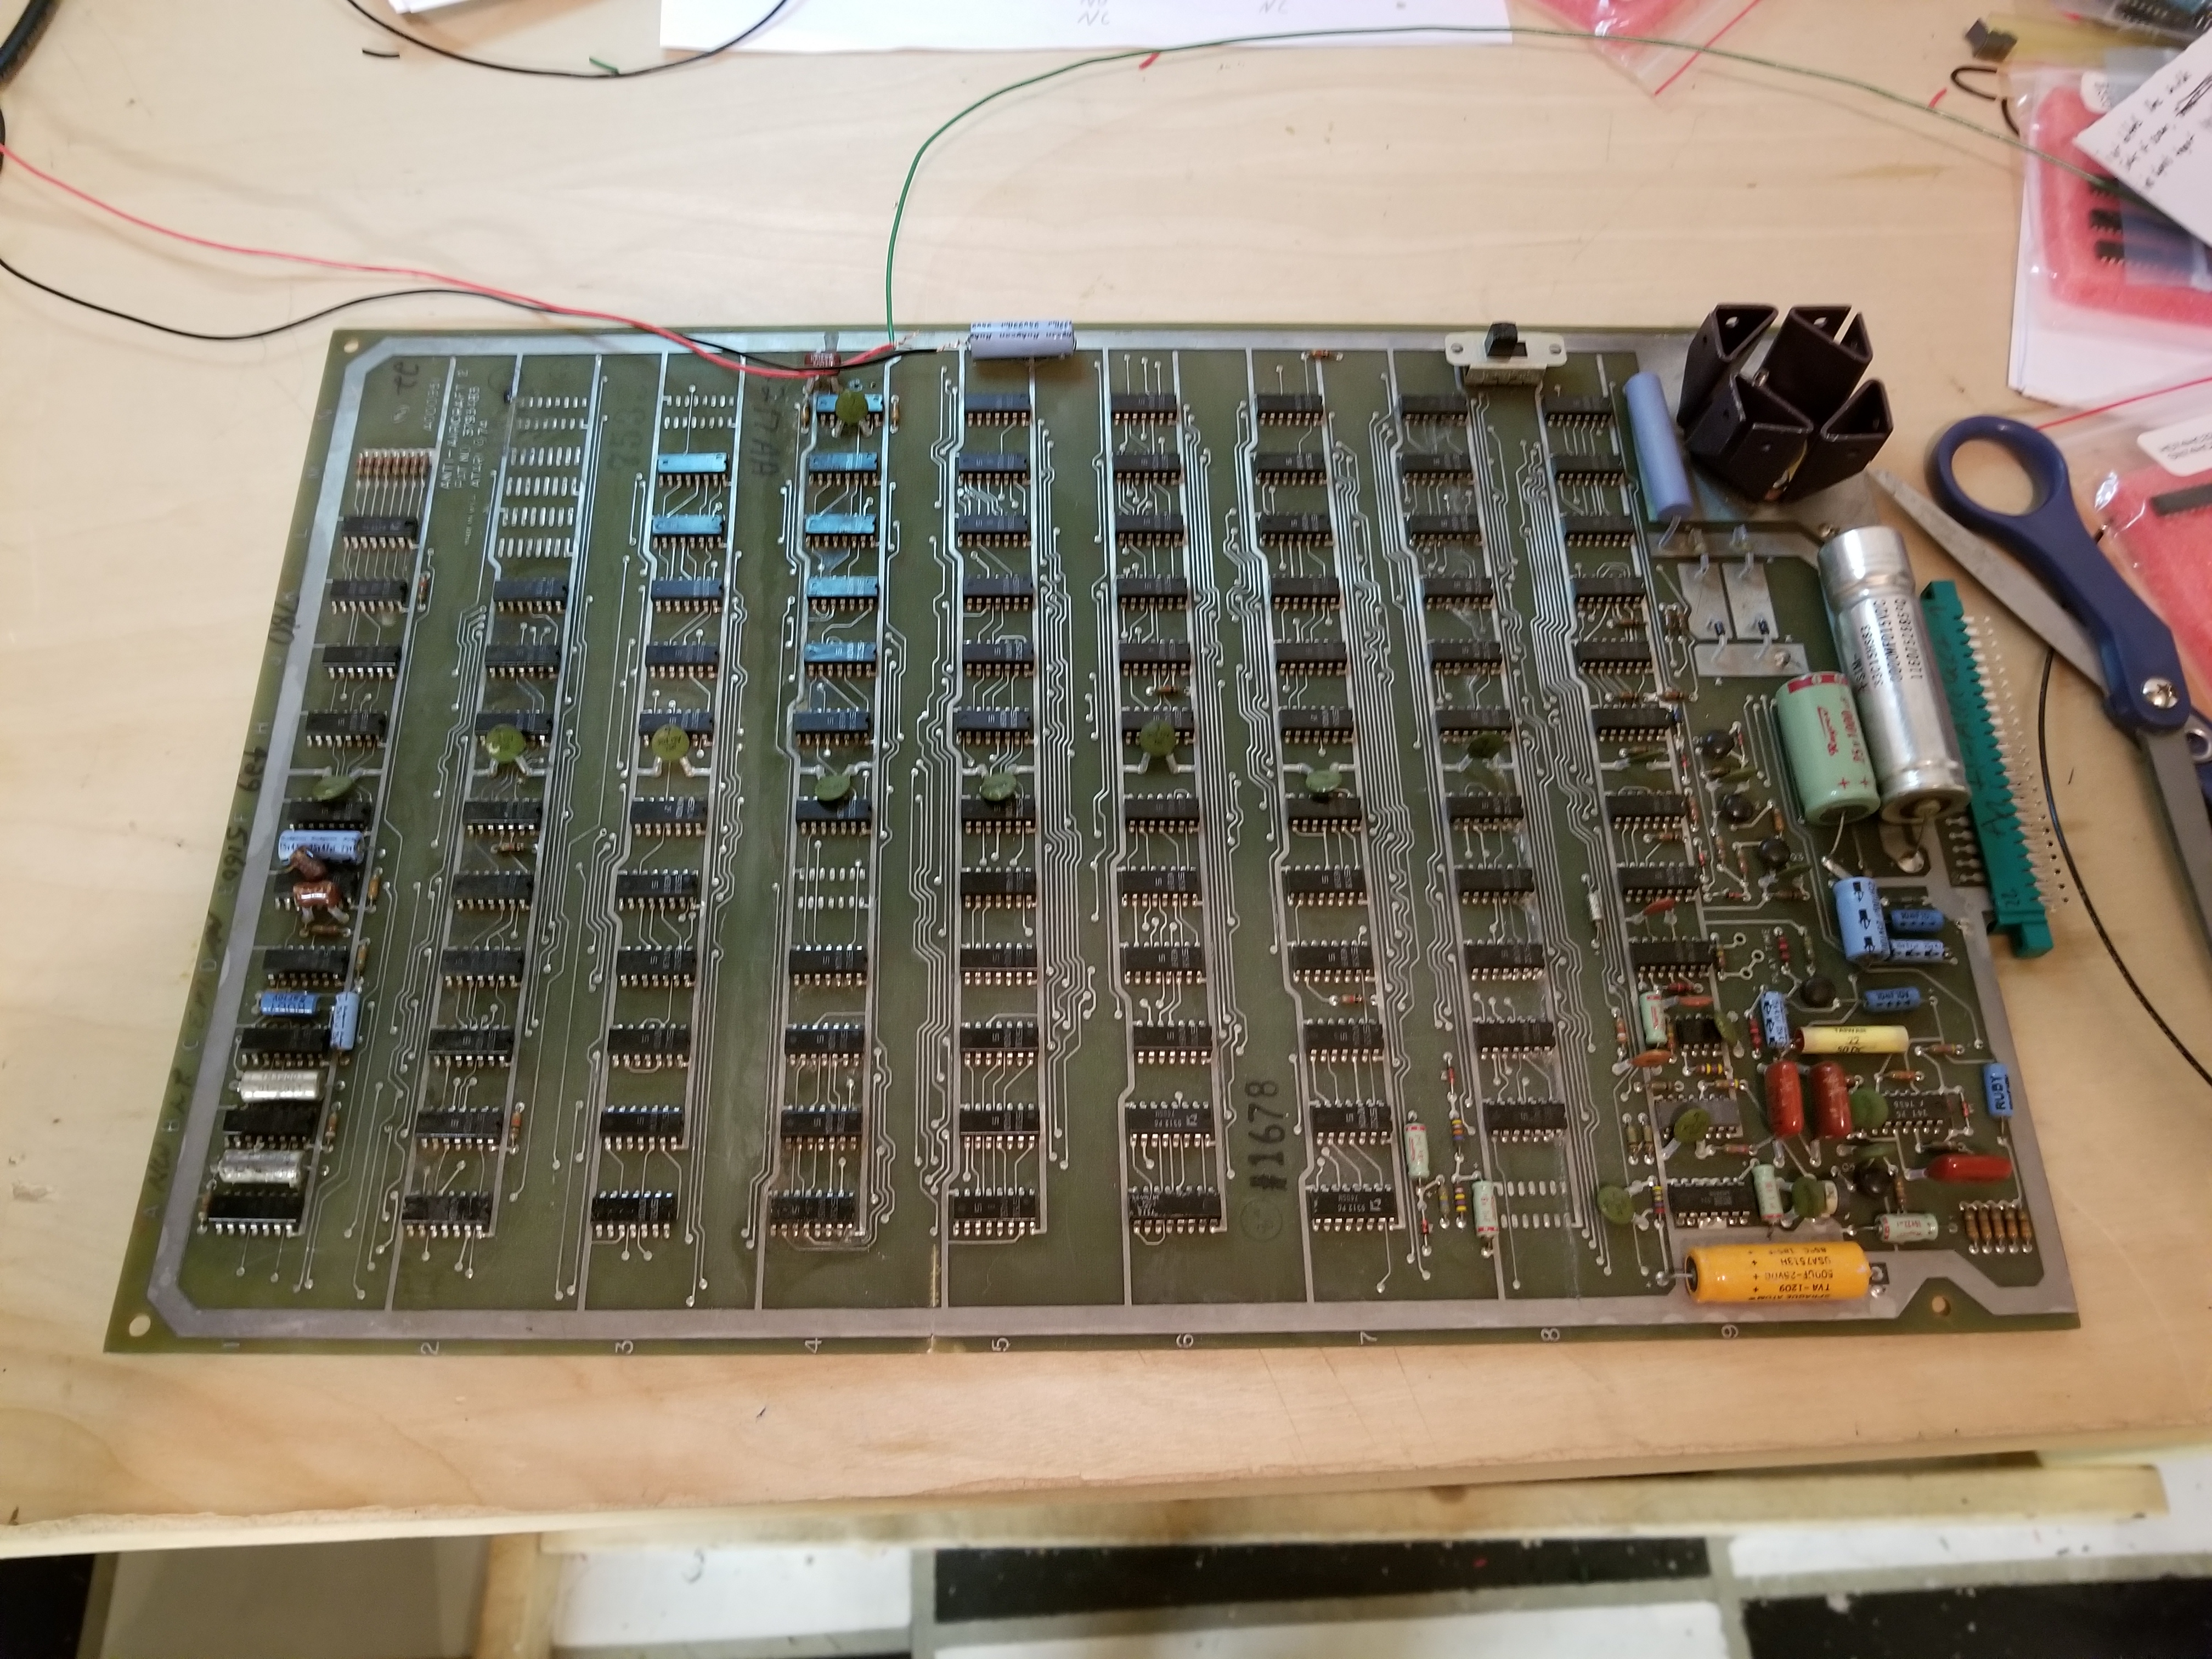
Rather than trying to power it on without a crystal, I soldered on the missing parts and about 15 jumper wires to fix the crack in the board. Fortunately, the vias in Anti-Aircraft are large enough to push a 22 awg wire through.
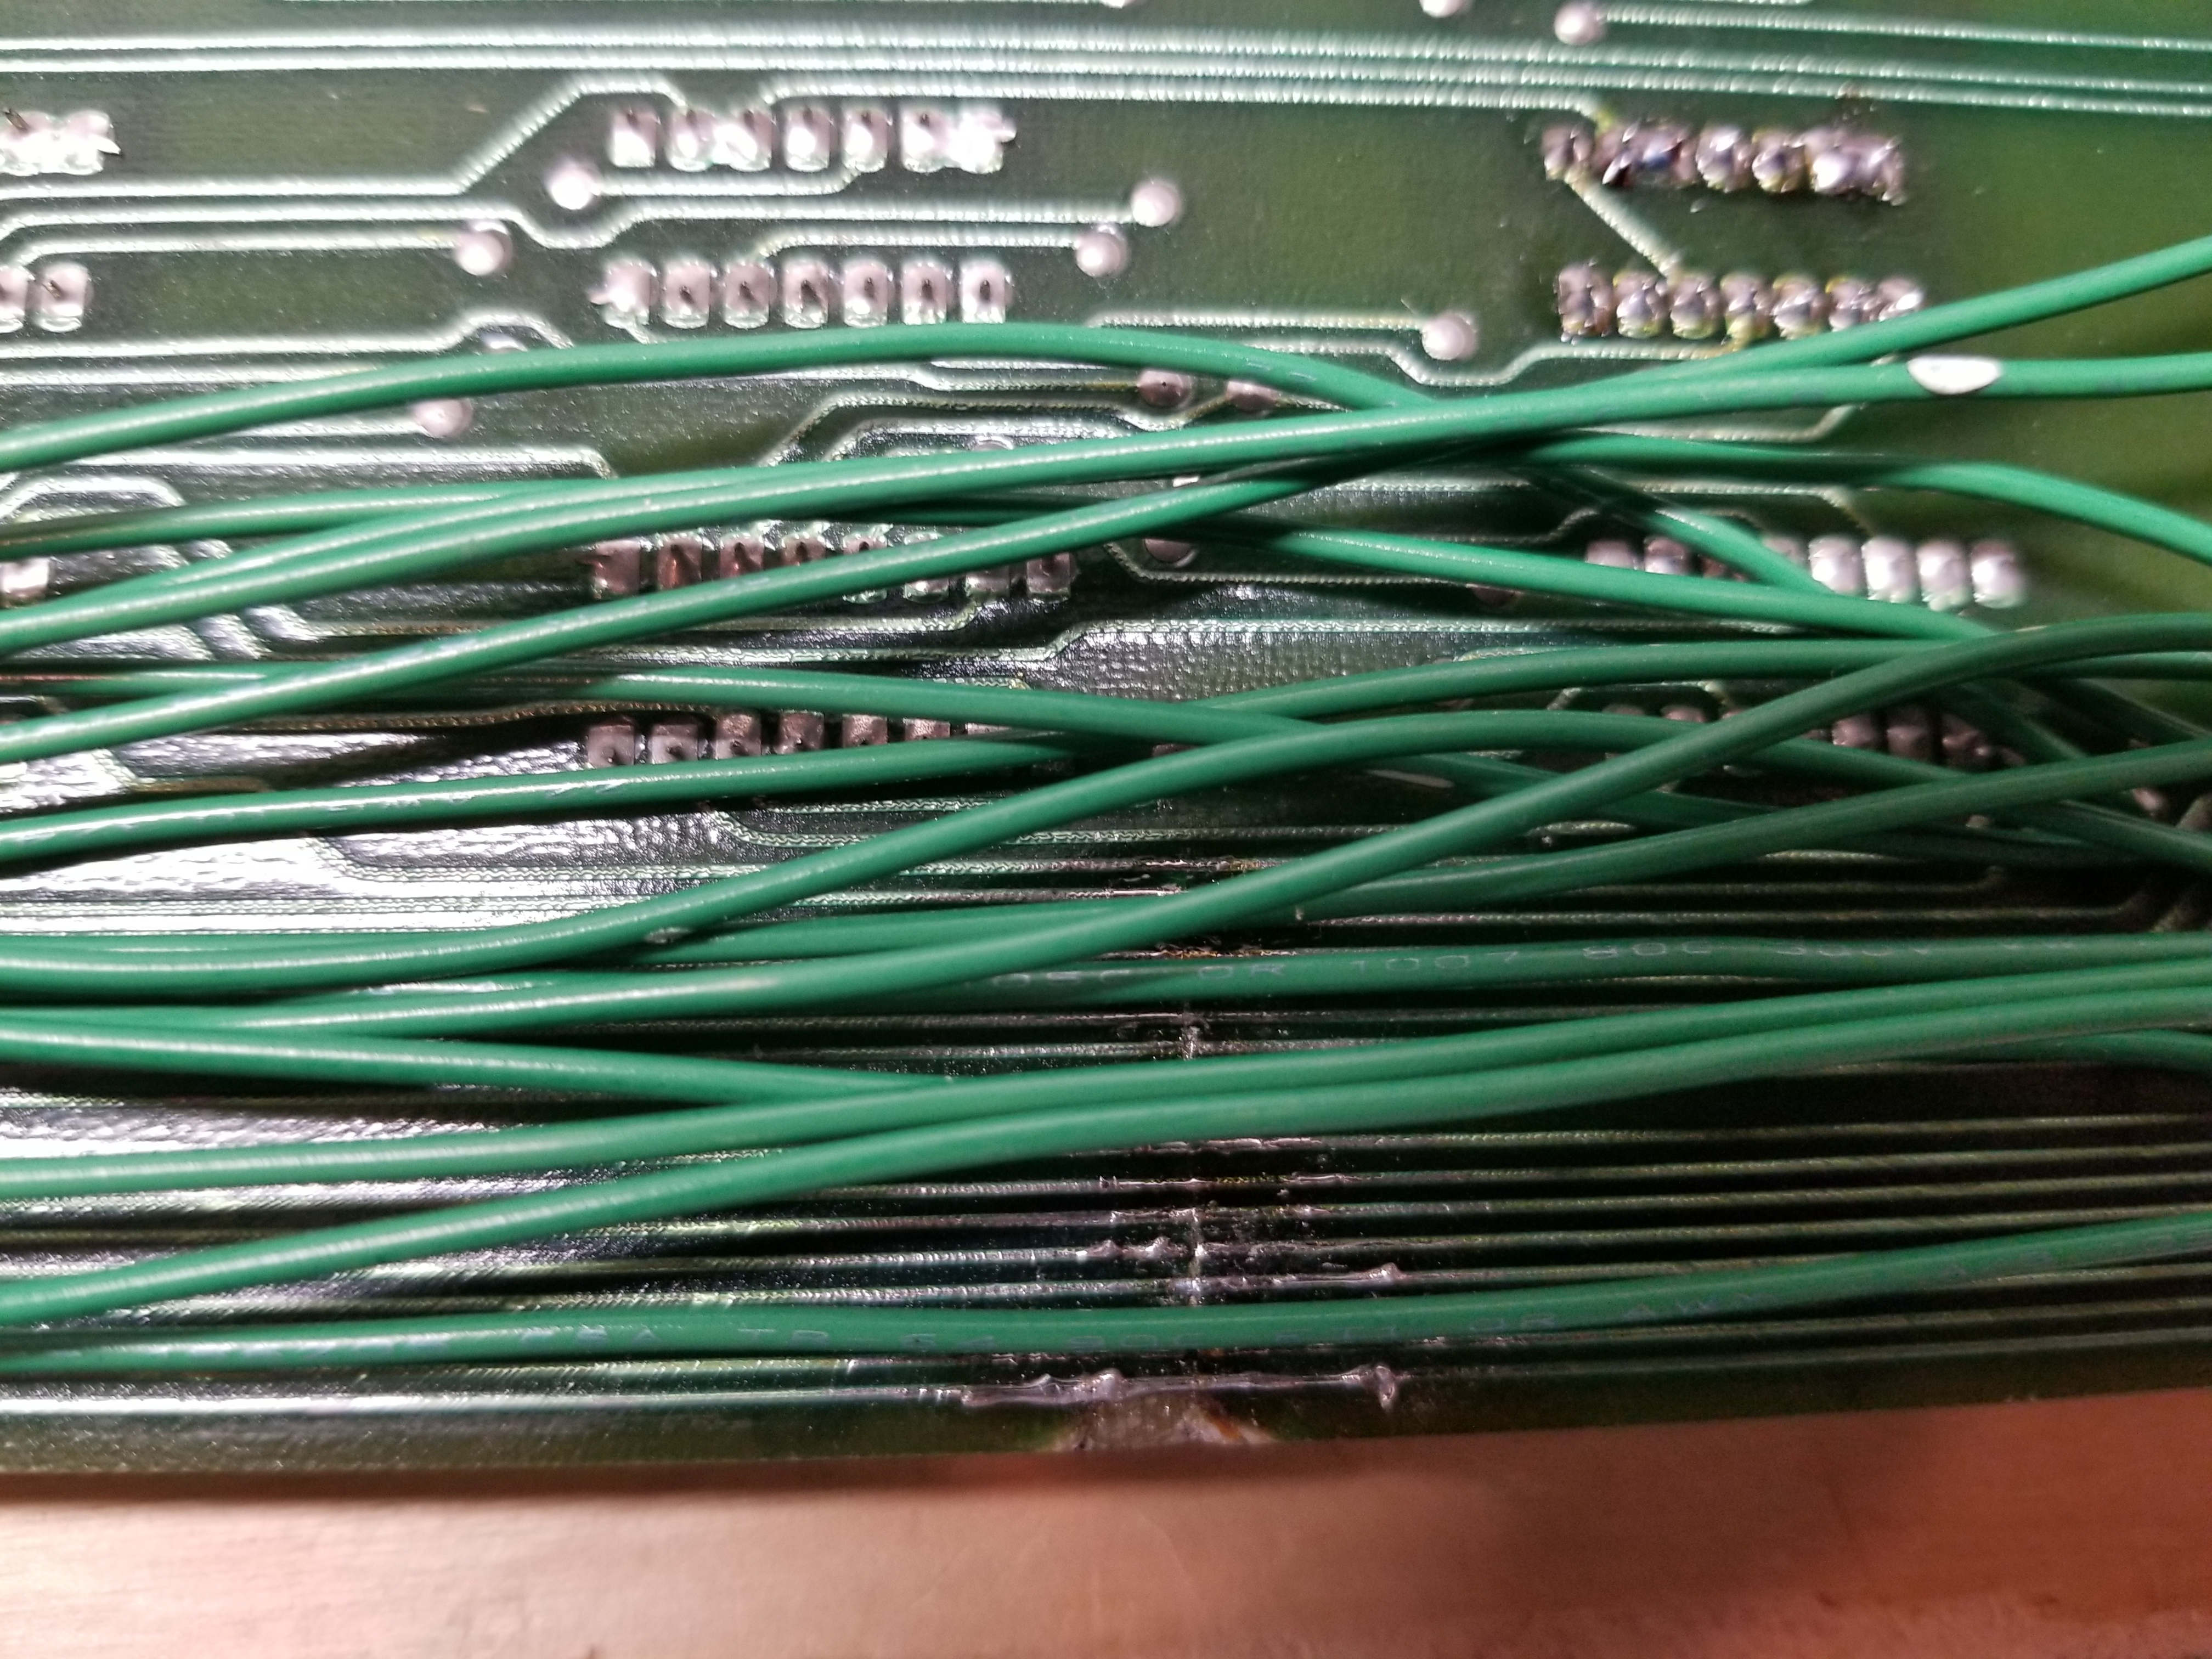

Yay! I already had more progress than my other boards combined.
Since I didn't have or want an Anti-Aircraft cabinet, I had to make my own test rig. It's actually really simple. All it took was:
- Pinout diagram/Schematic package
- Card edge connector
- Various wire colors
- Leaf switches (for coin switches)
- A LED (credit light)
- Other parts to simulate the control panel
- Adjustable benchtop power supply
- Center-tapped transformers if it has a negative voltage circuit.
(NOTE: Some games, like Space Race, don't need the transformer.
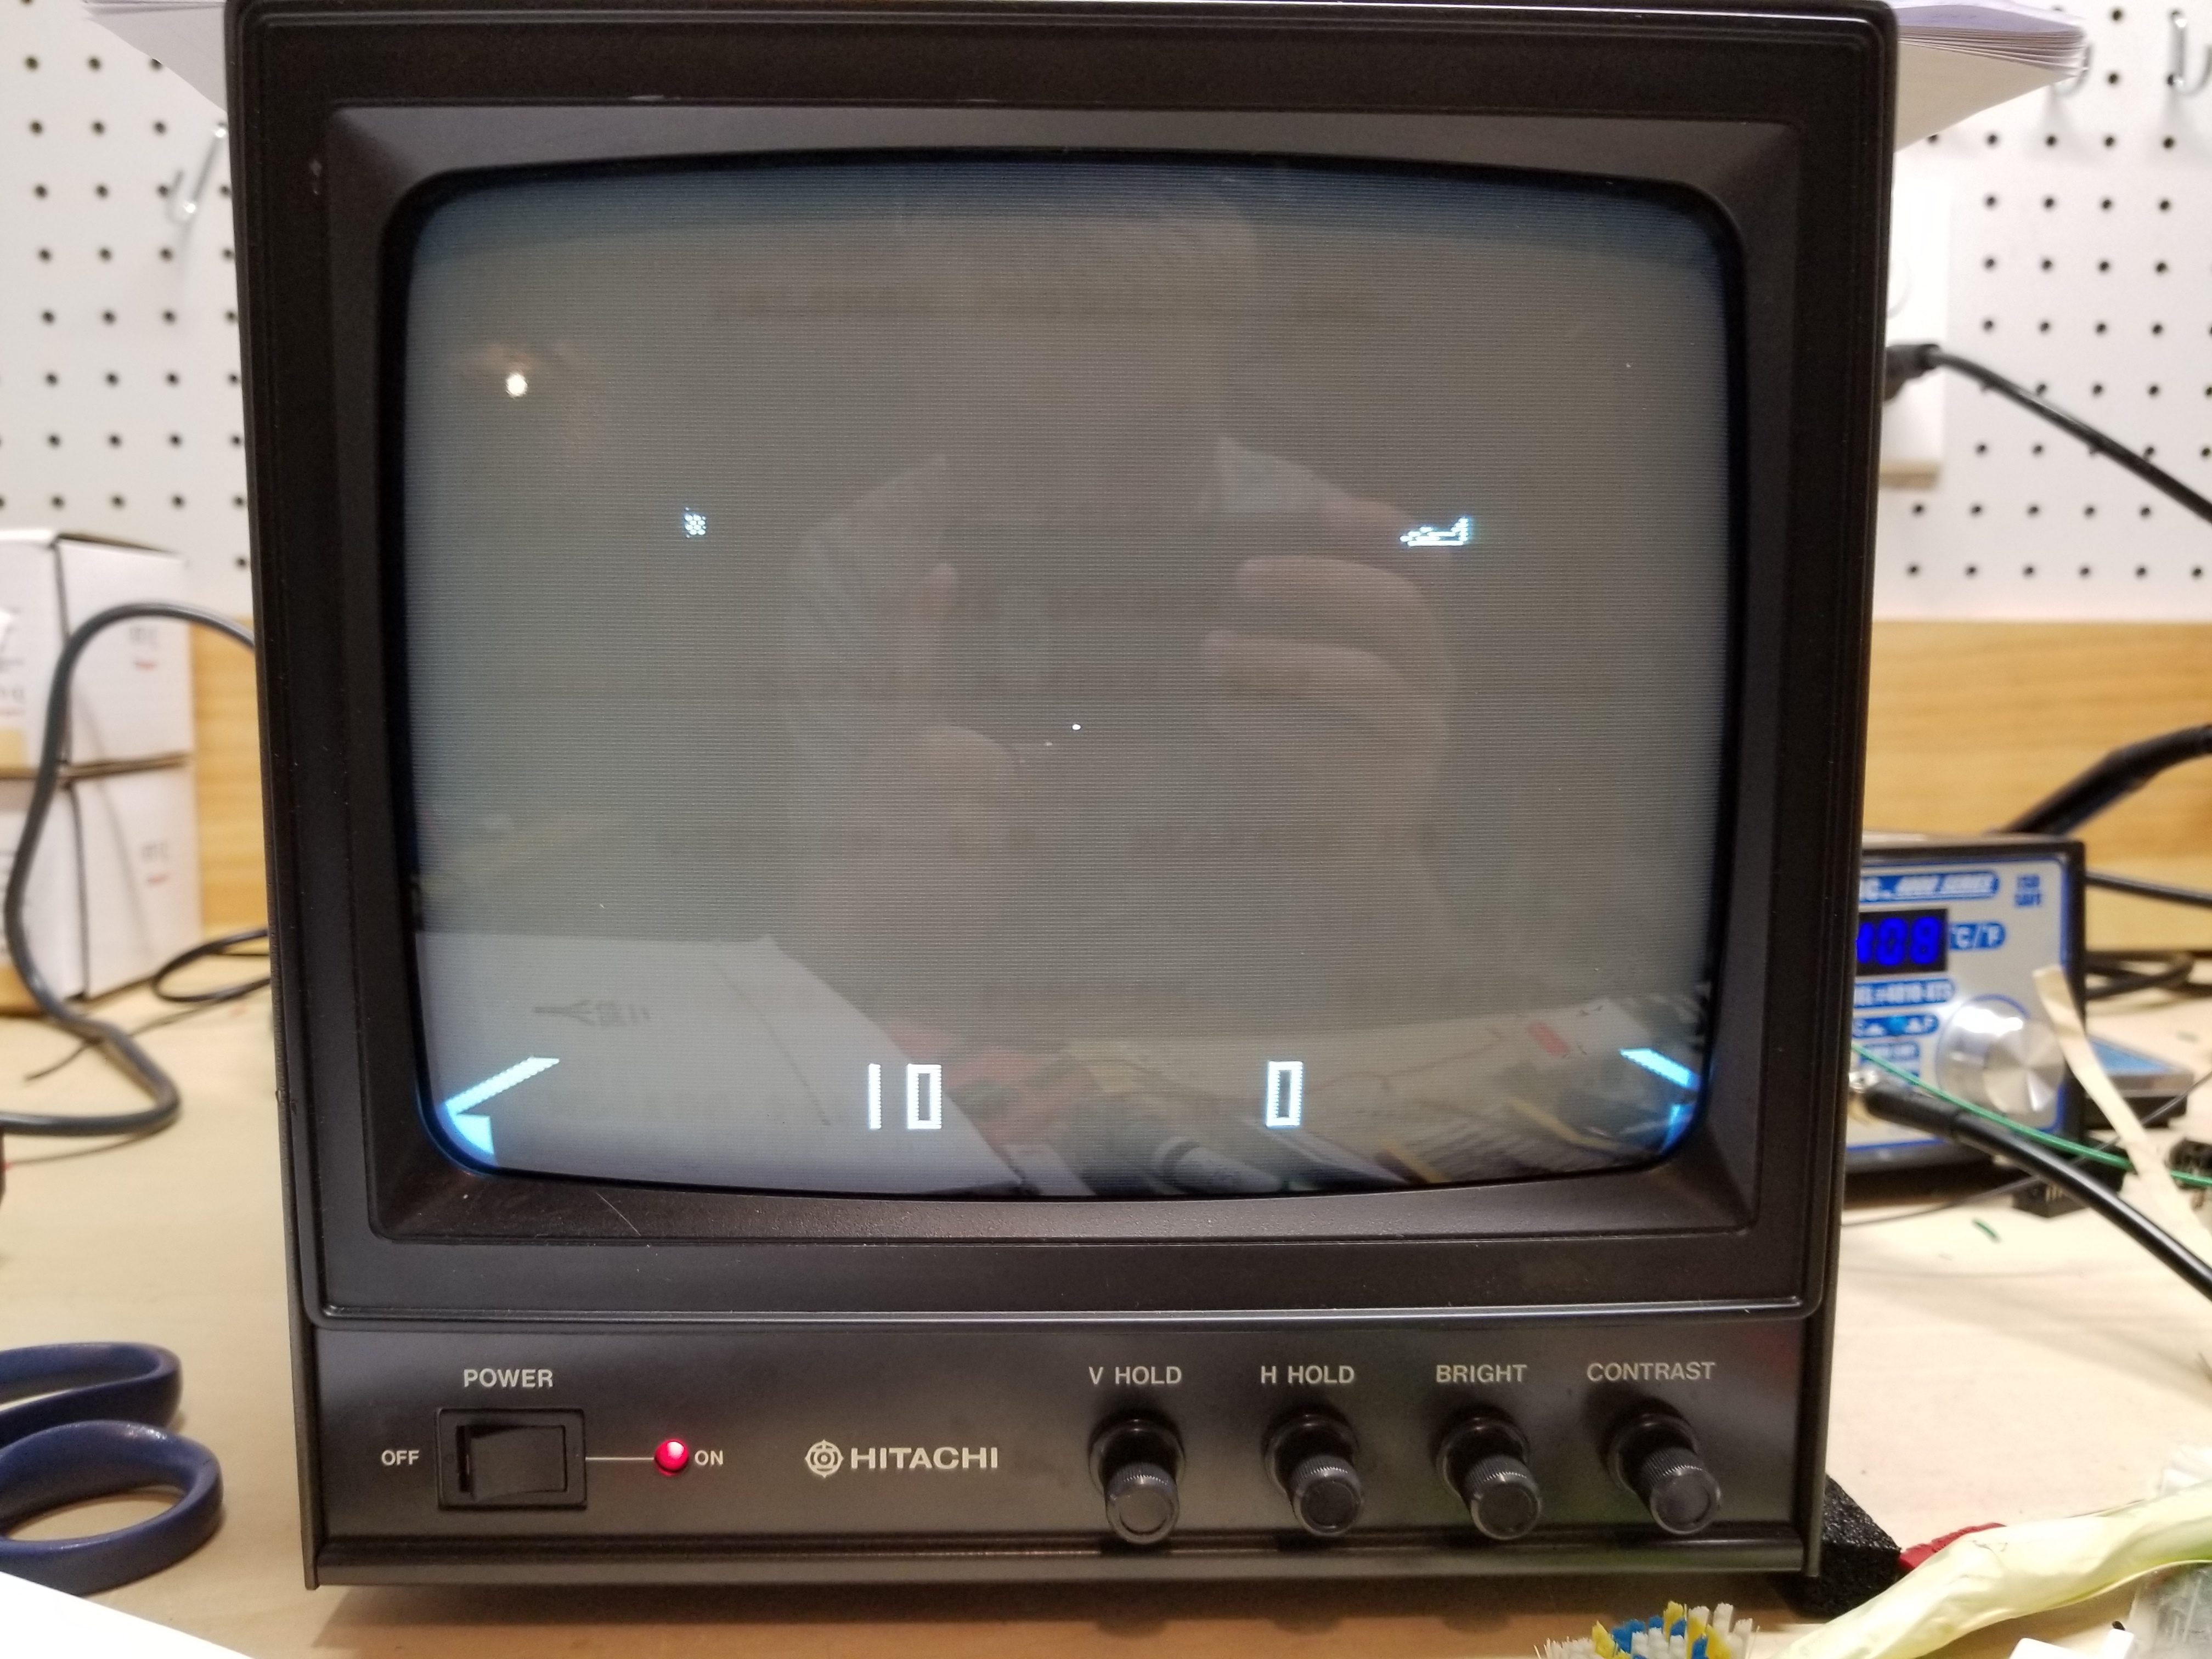
Use the -5v from a JAMMA switching power supply.) - Crt Monitor w/ composite input
- Speakers

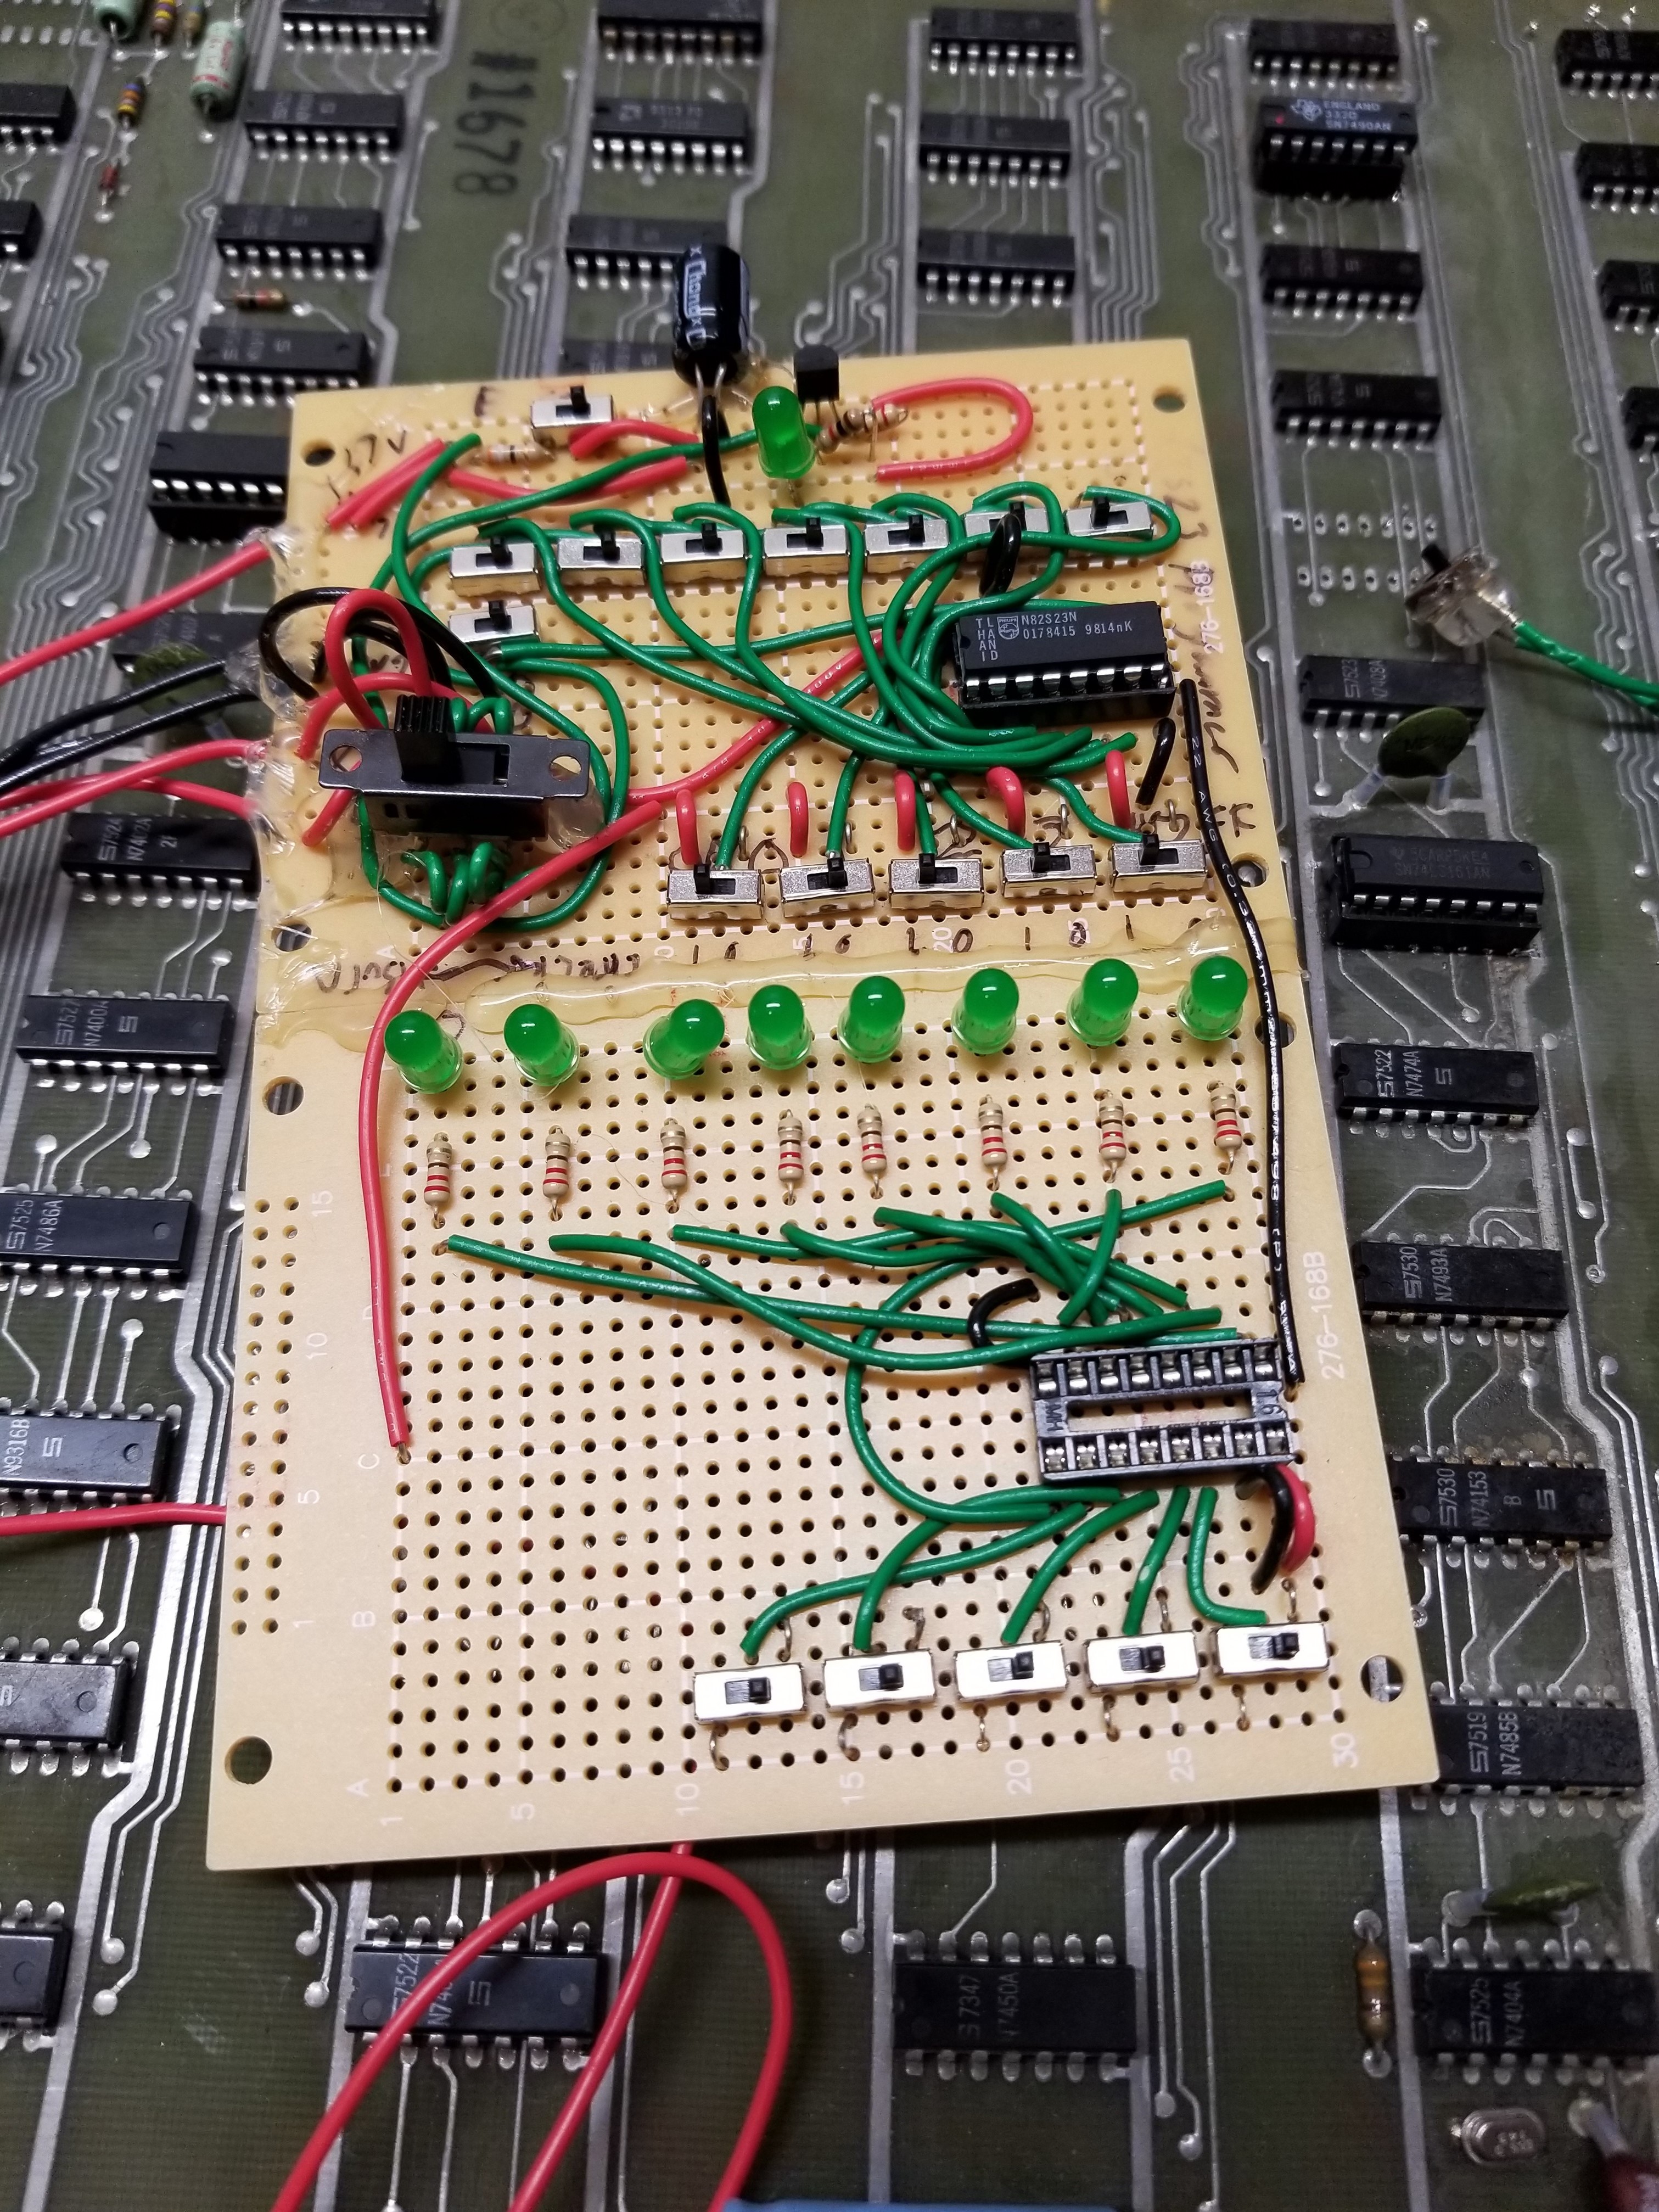
A close up of my test rig. Oddly enough, I used inverters to simulate an NC switch (since I didn't have a NO switch) rather than using some pulldown resistors and changing up how the switch was wired.
Unfortunately, beyond this point it is hard to remember what I did to fix it. However, I did remove the on-board regulator and bypass resistor. (It would routinely heat up and smoke...)
Here's a list of what most of the chips I replaced did:
Other Repairs:
| The Problem | Game Screen | Solution: | How I found it: | Misc. |
| Dead Game | *yoke hum* | Fix the big crack, and replace the missing crystal and potentiometor. | Looking for obvious issues | |
| Too many Turrets & Scores | |
Bad 9602 at E1 | I just piggybacked a N.O.S. (New Old Stock) 9602 on it. | |
| Right player score was always a "6". | See above. | Bad 7490 at B4 | This was pretty easy to find, I just placed a good chip on top, and the score started spasing out. | |
| Game would not coin up | N/A | Bad 7474 at D8 Bad 7408 at E8 |
IIRC, I tested every chip in the circuit until I found the bad chip. | |
| No Left Missile | "" | Bad 74161 at E7 | I read the circuit description, and I tested every chip in the circuit. I just happened to find it. | My method of testing was piggybacking a good chip on top of the old chip to see if that would fix anything. I didn't know that wouldn't always work.
That's why you need an oscilloscope. (I got mine for Christmas when I was 11.) |
| No Planes | "" | Bad 74161 at H4?
Bad 7404 at D2 |
H4 is used for the horizontal sync counting in the schematic, yet piggybacking a chip on it would make the plane appear.
I replaced it, but the plane was still gone. I found a dead gate at D2, and the plane appeared. |
Switching between Graphics
Almost anyone who has looked up games on the Vintage Arcade Preservation Society's website will know of the "secret" other graphic in Anti-Aircraft. How do you do access this? Well, with how an 82S23 (and any memory device in general) works, the most significant bit selects which half of the memory device is being accessed. Each input down the line selects the half of that half, etc.
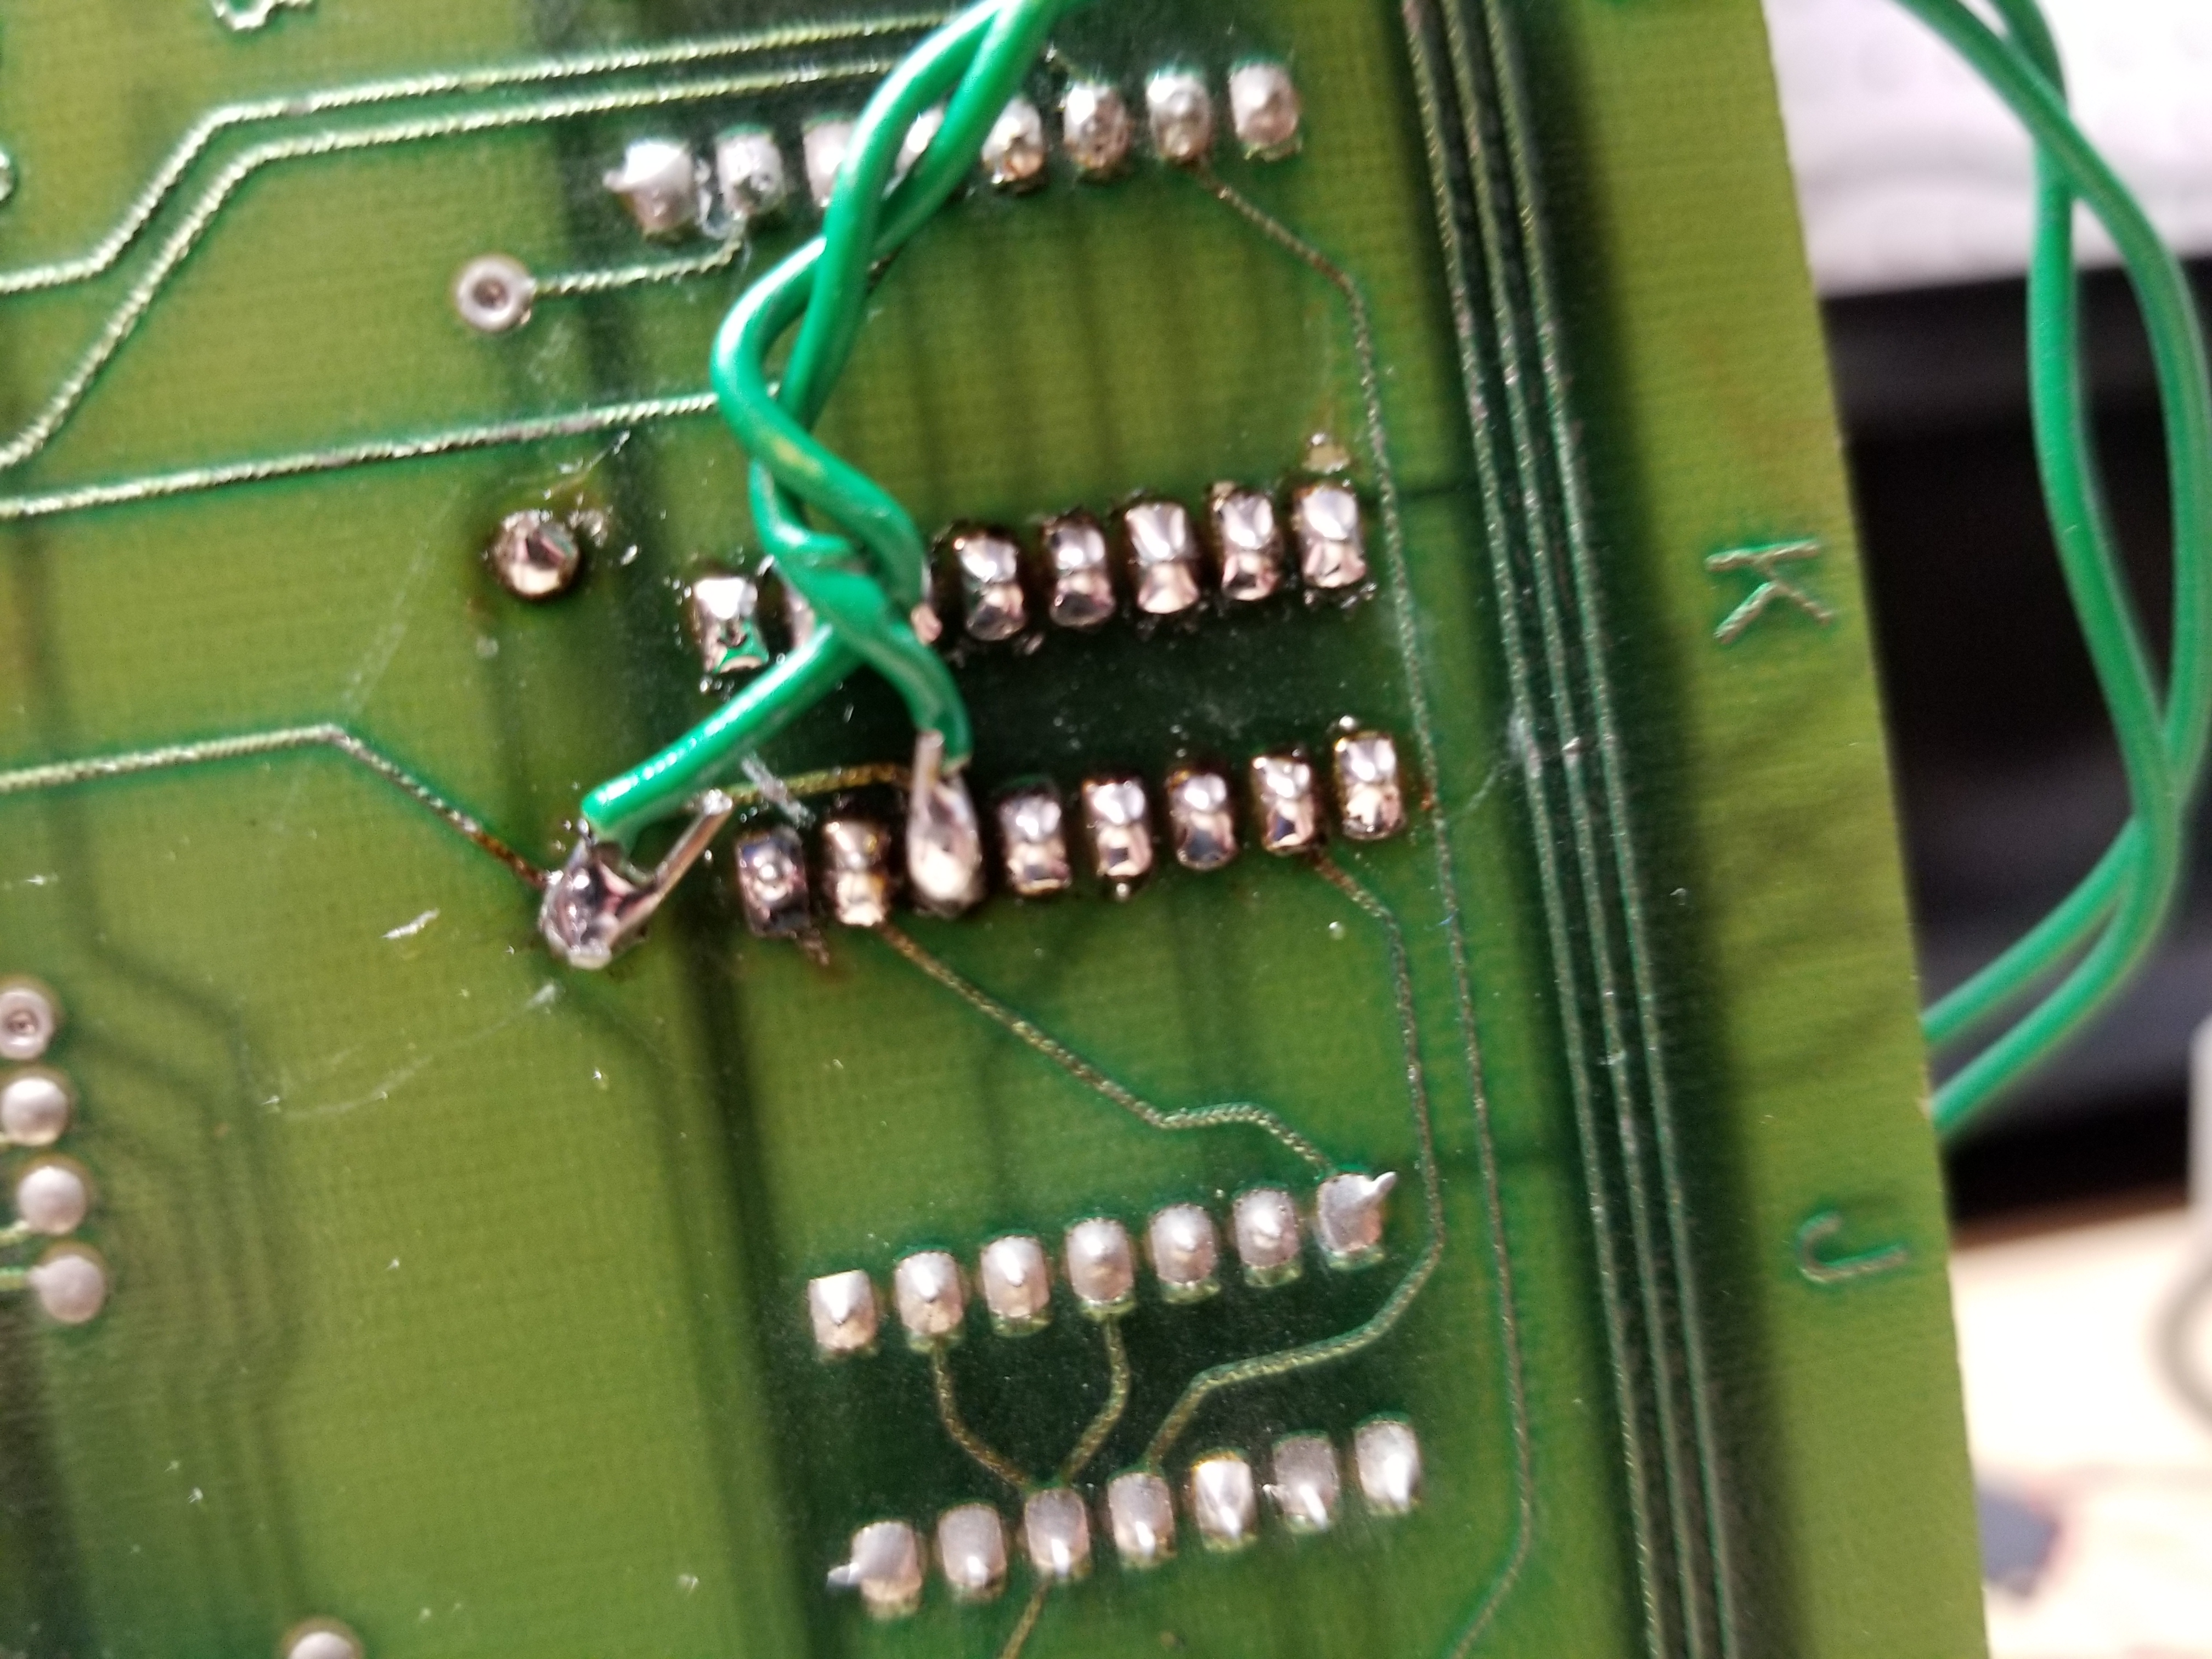
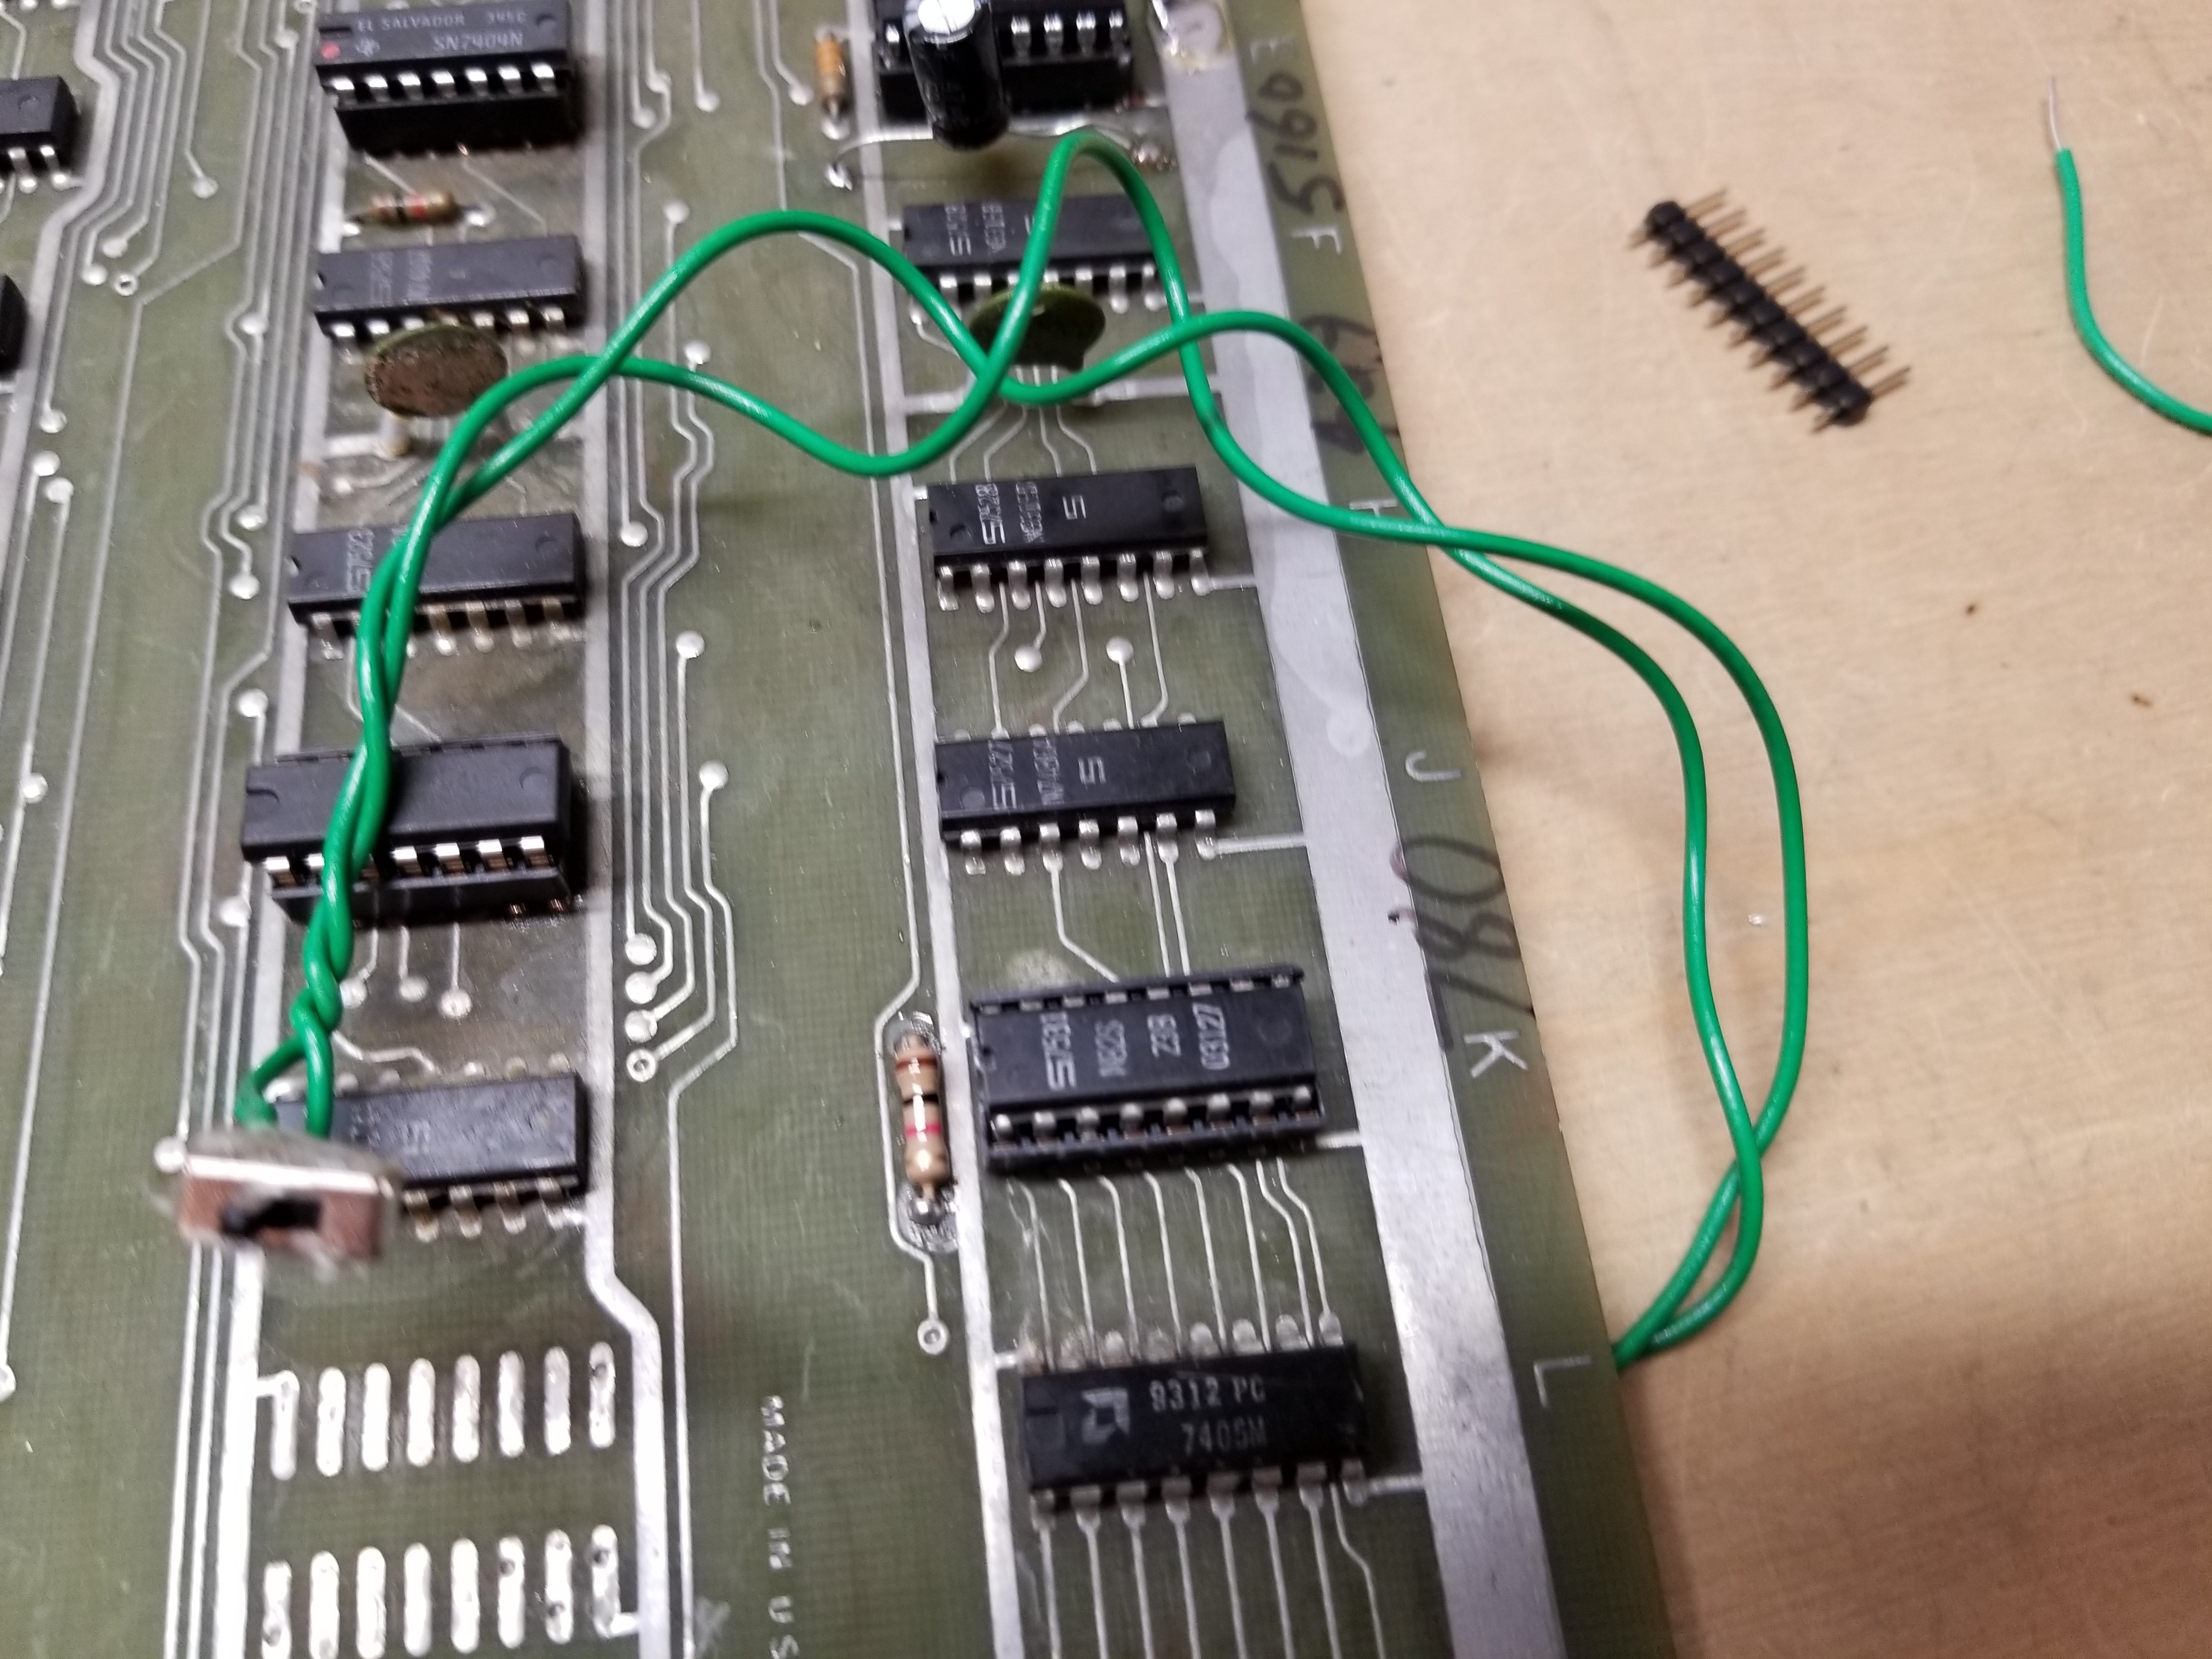
To switch between the plane and the UFO, all one has to do is cut the ground trace leading to pin 14.
If you want to be able to switch between the plane and UFO at will, just solder a switch between them.
The hack:
Creating New Graphics
While working on PERISCOPE, I realized that Anti-Aircraft used the same type of PROM as PERISCOPE. (An 82S23) I socketed the PROM on the board, and used Anti-Aircraft to test if I programmed my PROMs correctly. One day, I had no particular motivation to work on PERISCOPE. I looked at the boards I had. It occured to me: Why not make new graphics for Anti-Aircraft?
The first step in doing that is to make a programmer. I had already made one following this procedure for use with PERISCOPE.
Next, choose what you want the graphics to look like. I thought it would be hilarious to do an Enterprise and K'Vort.
I'd suggest drawing it out on graph paper to help you remember what you are doing:
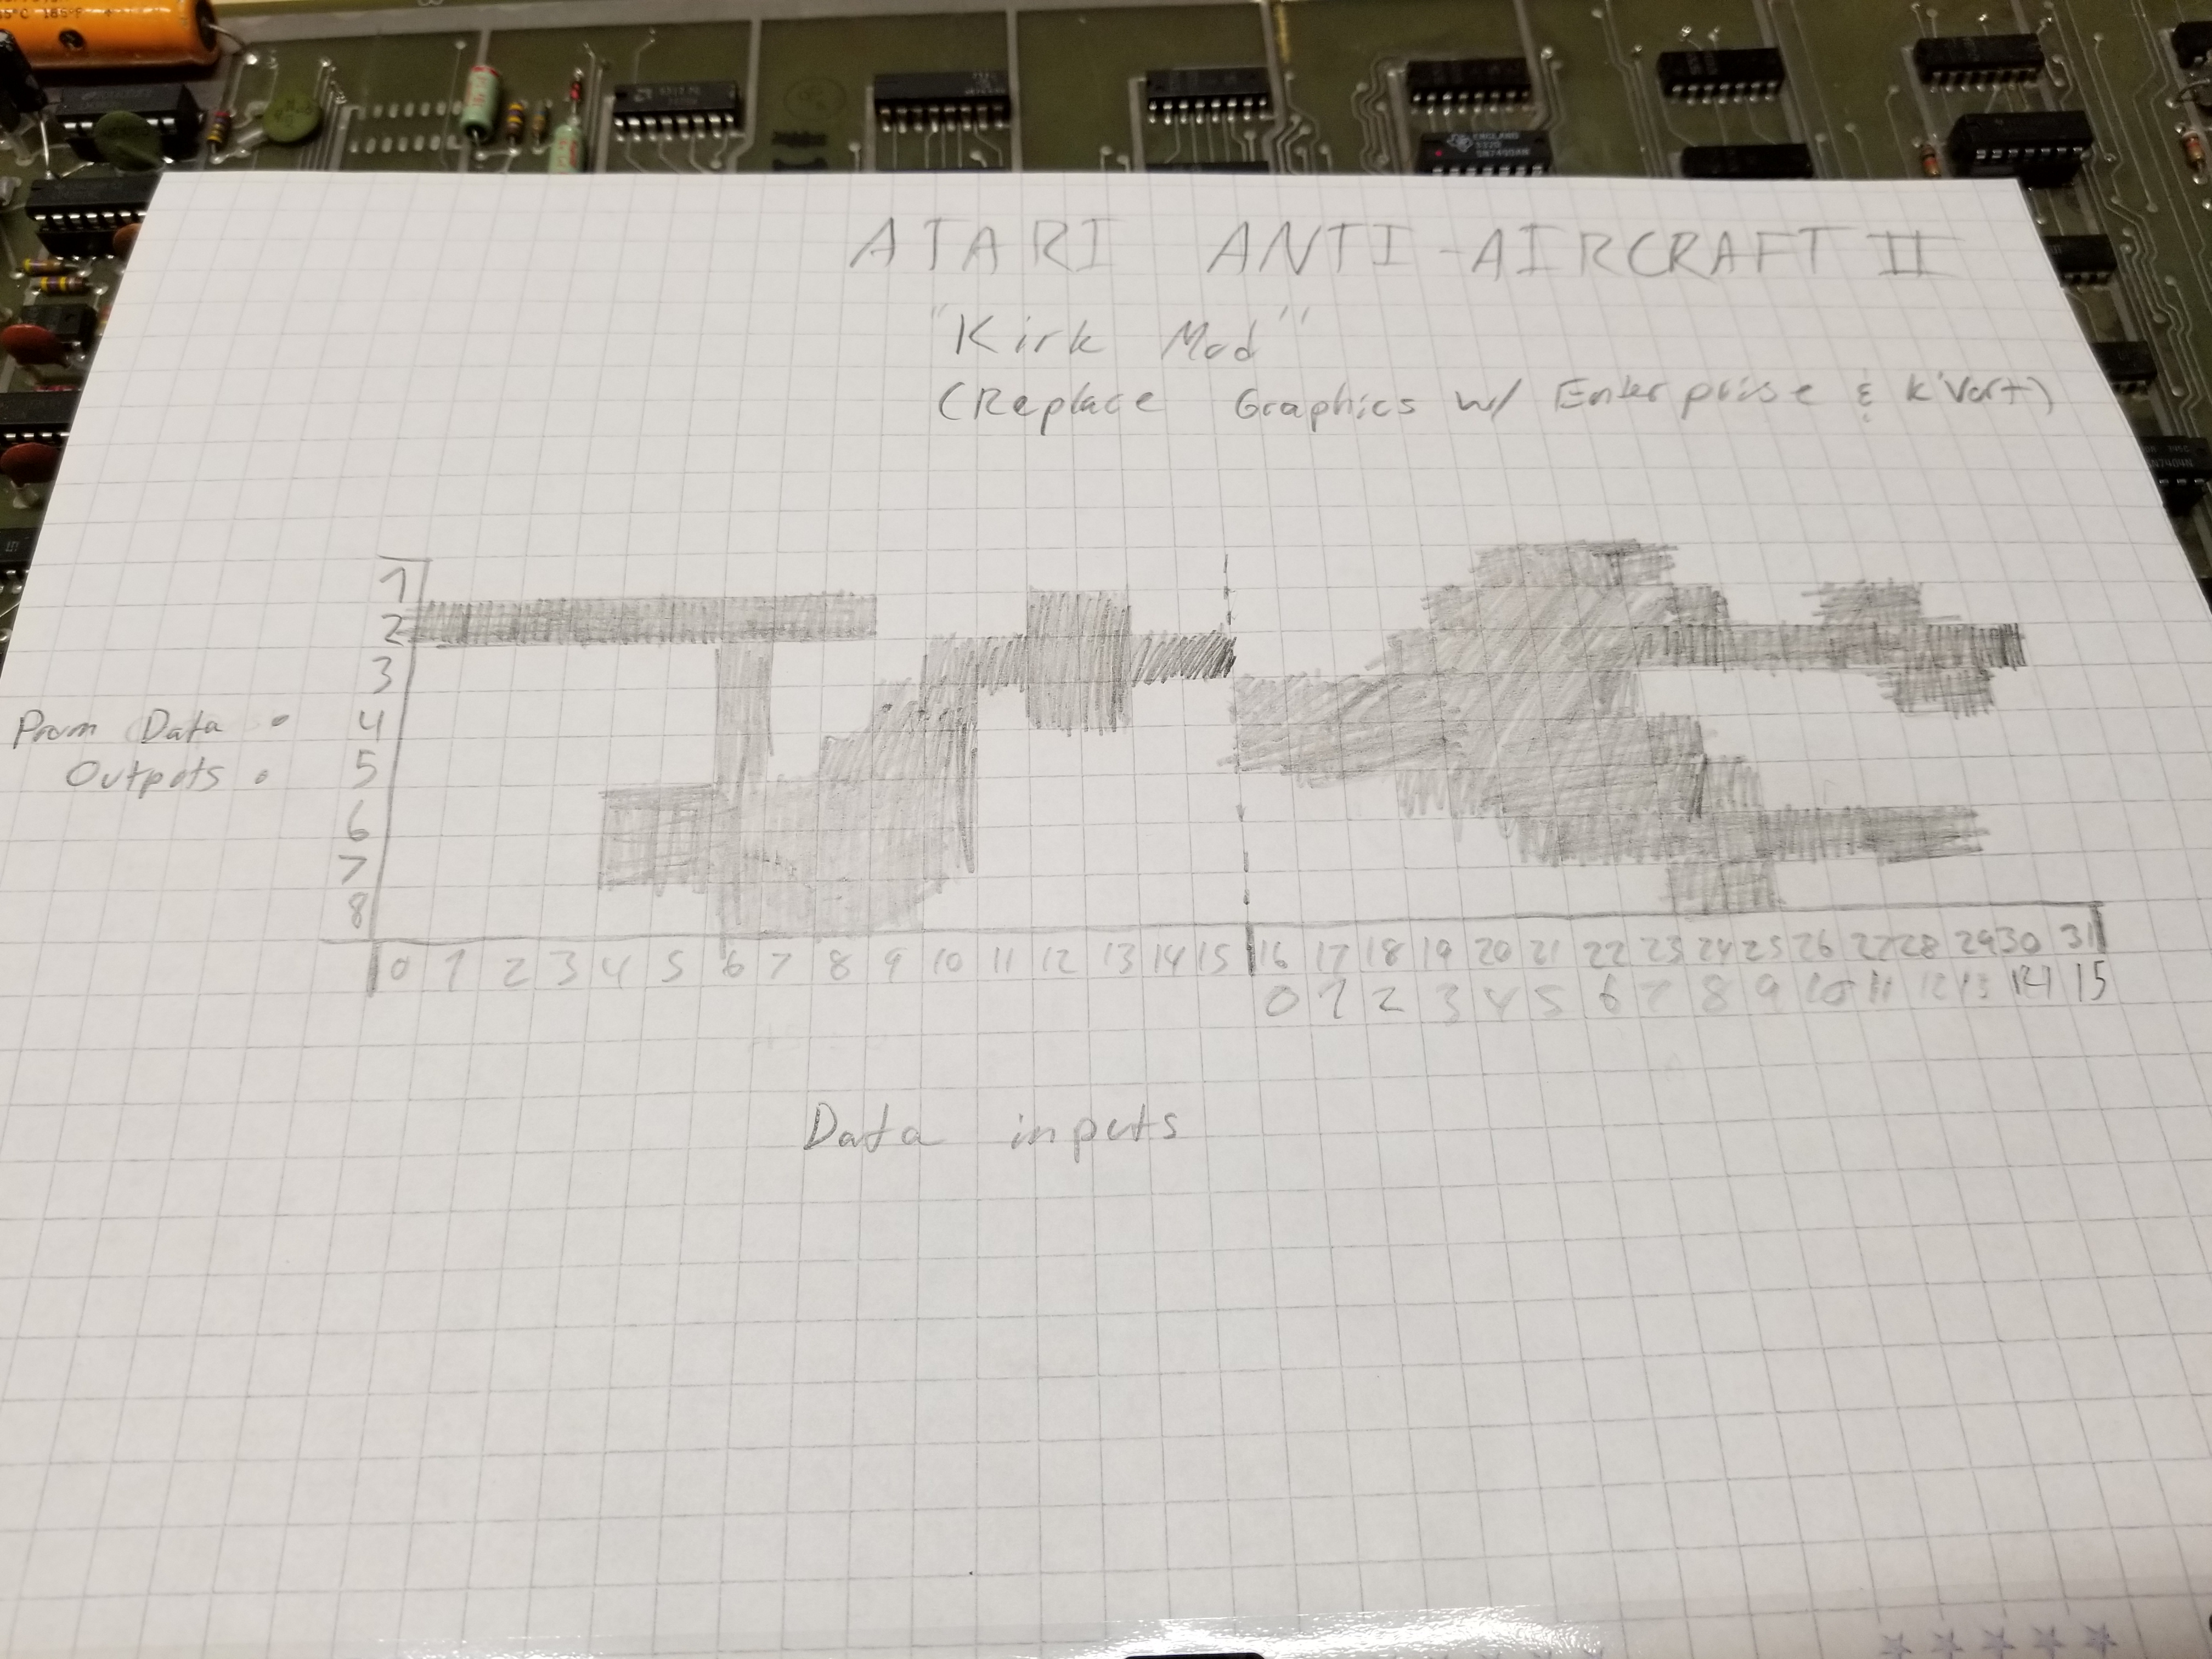
Now, all you have to do is flip switches on the programmer for the next hour or so, and hope you didn't mess up.
Next, desolder the old PROM and add a socket. (I had already done that to add the switch, and figured the old PROM would go bad eventually.)
Here is the new one:
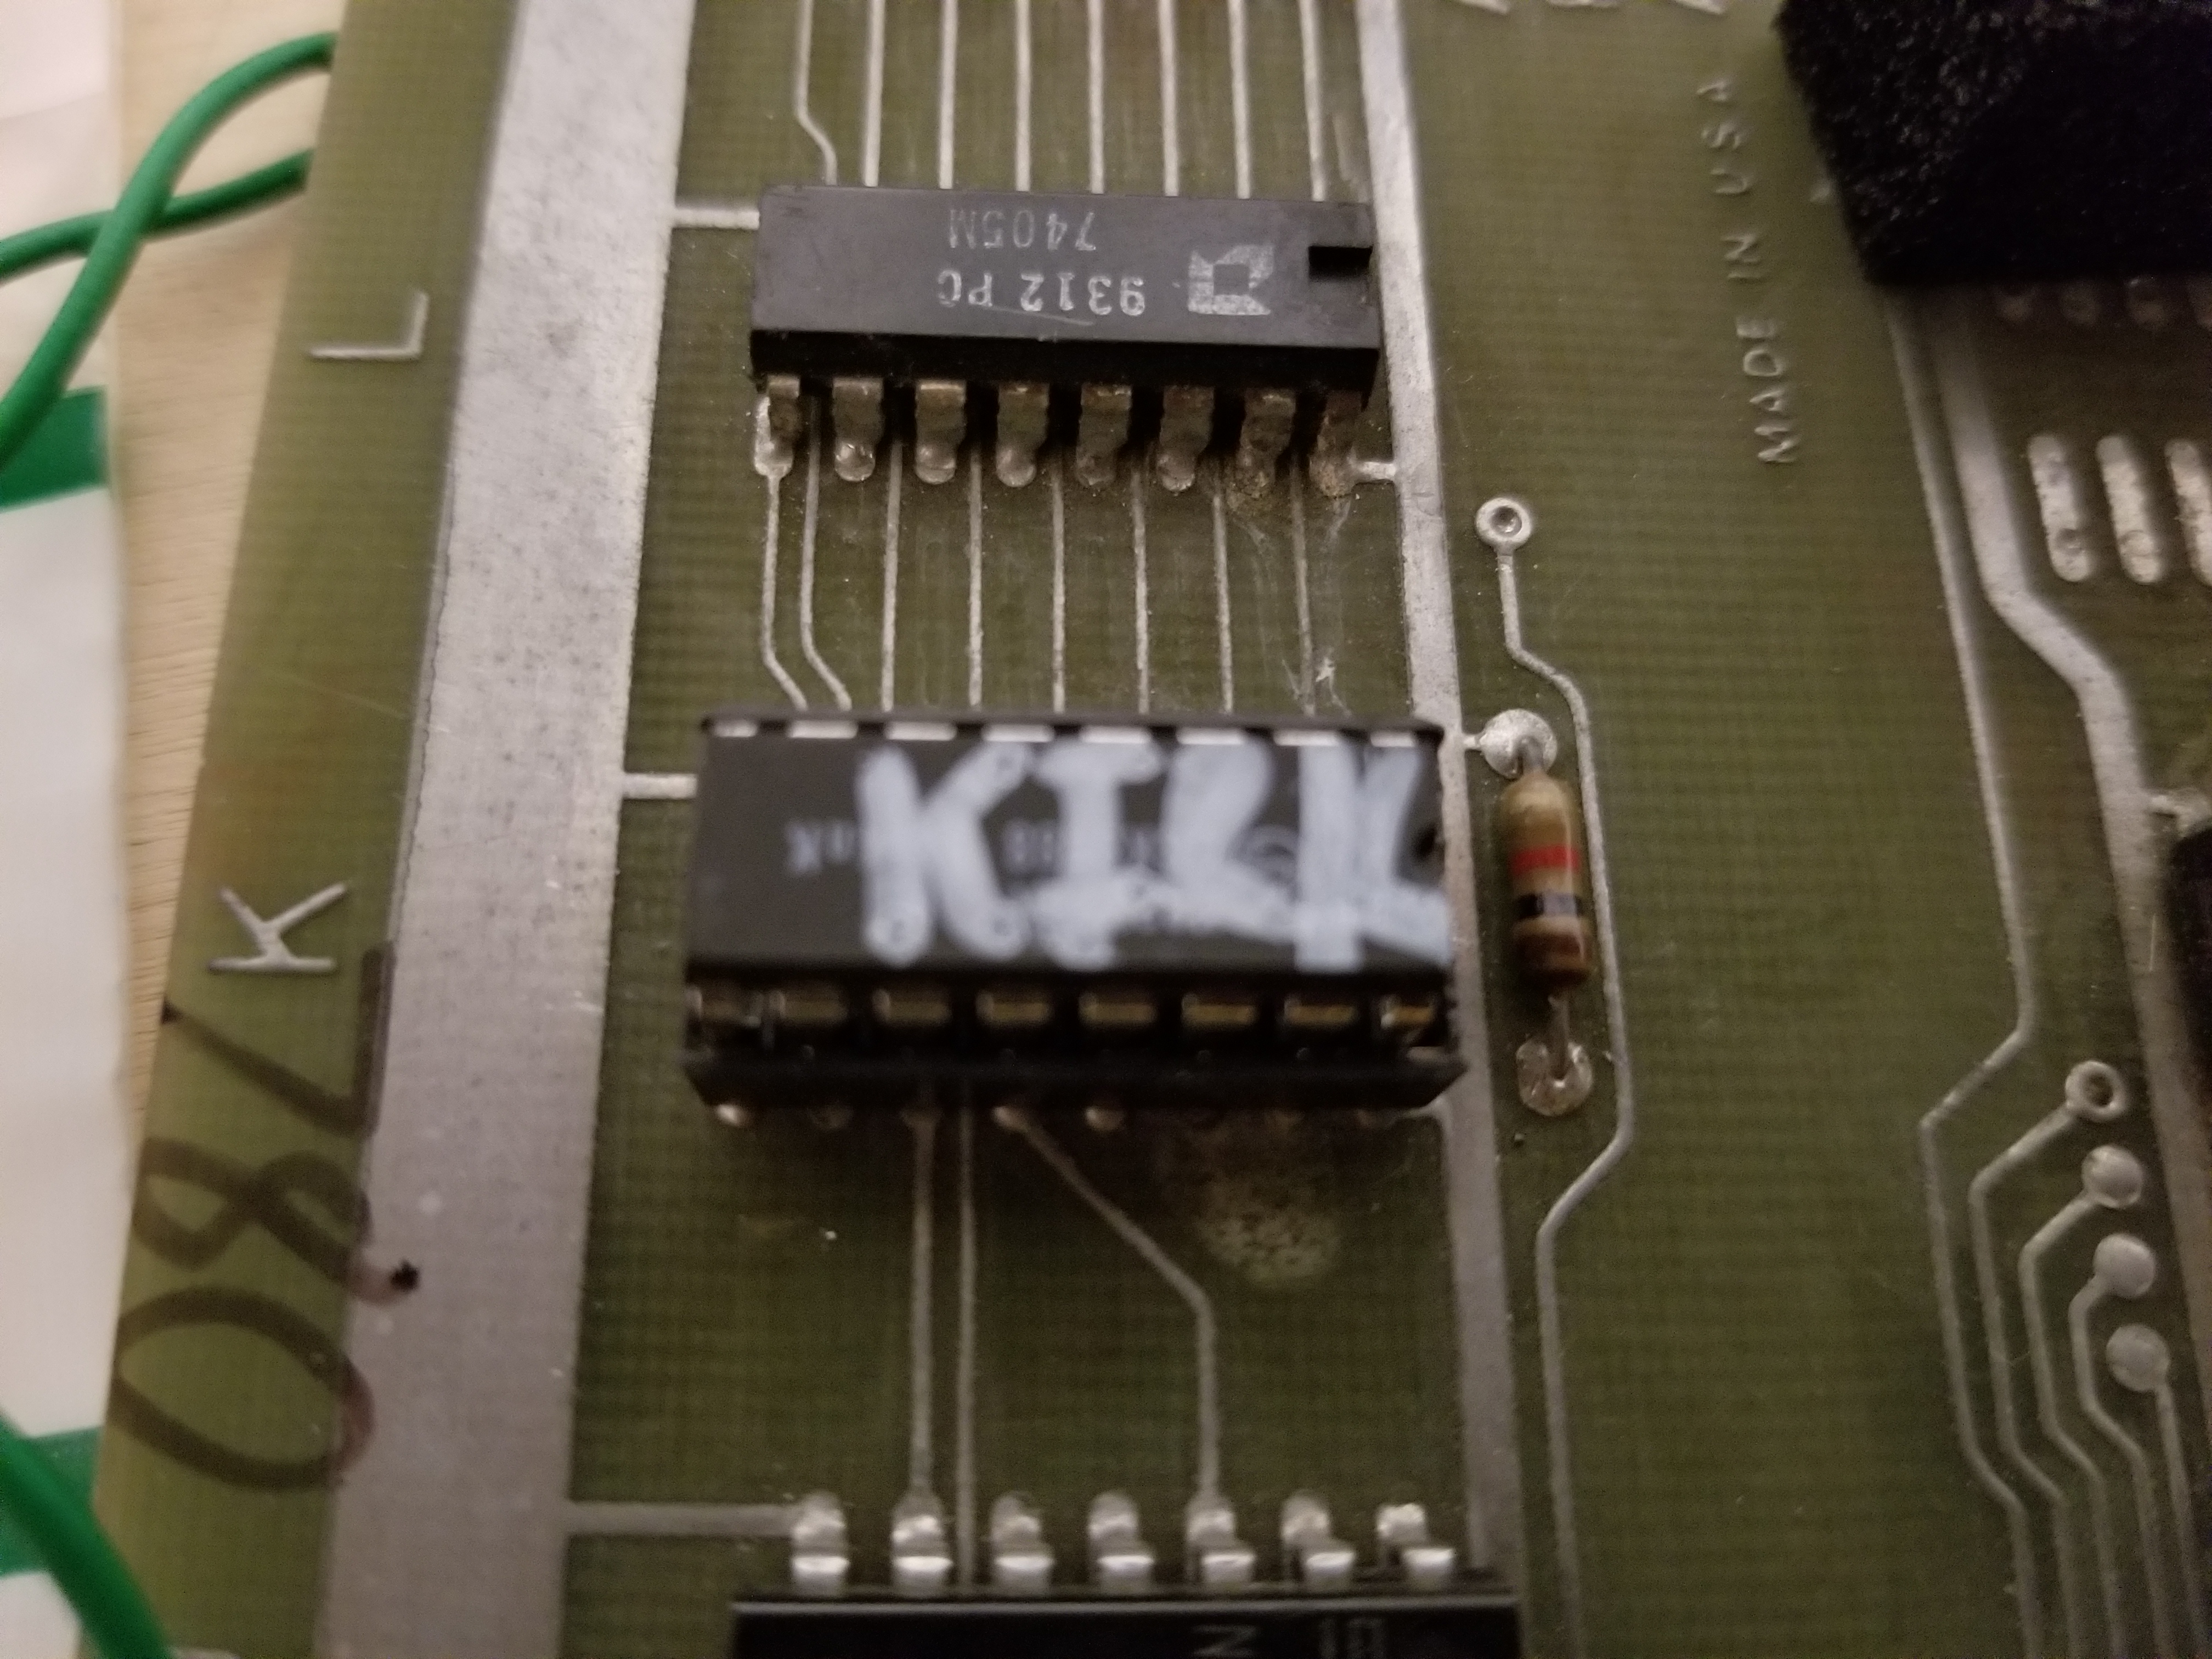
The Enterprise & the K'Vort:
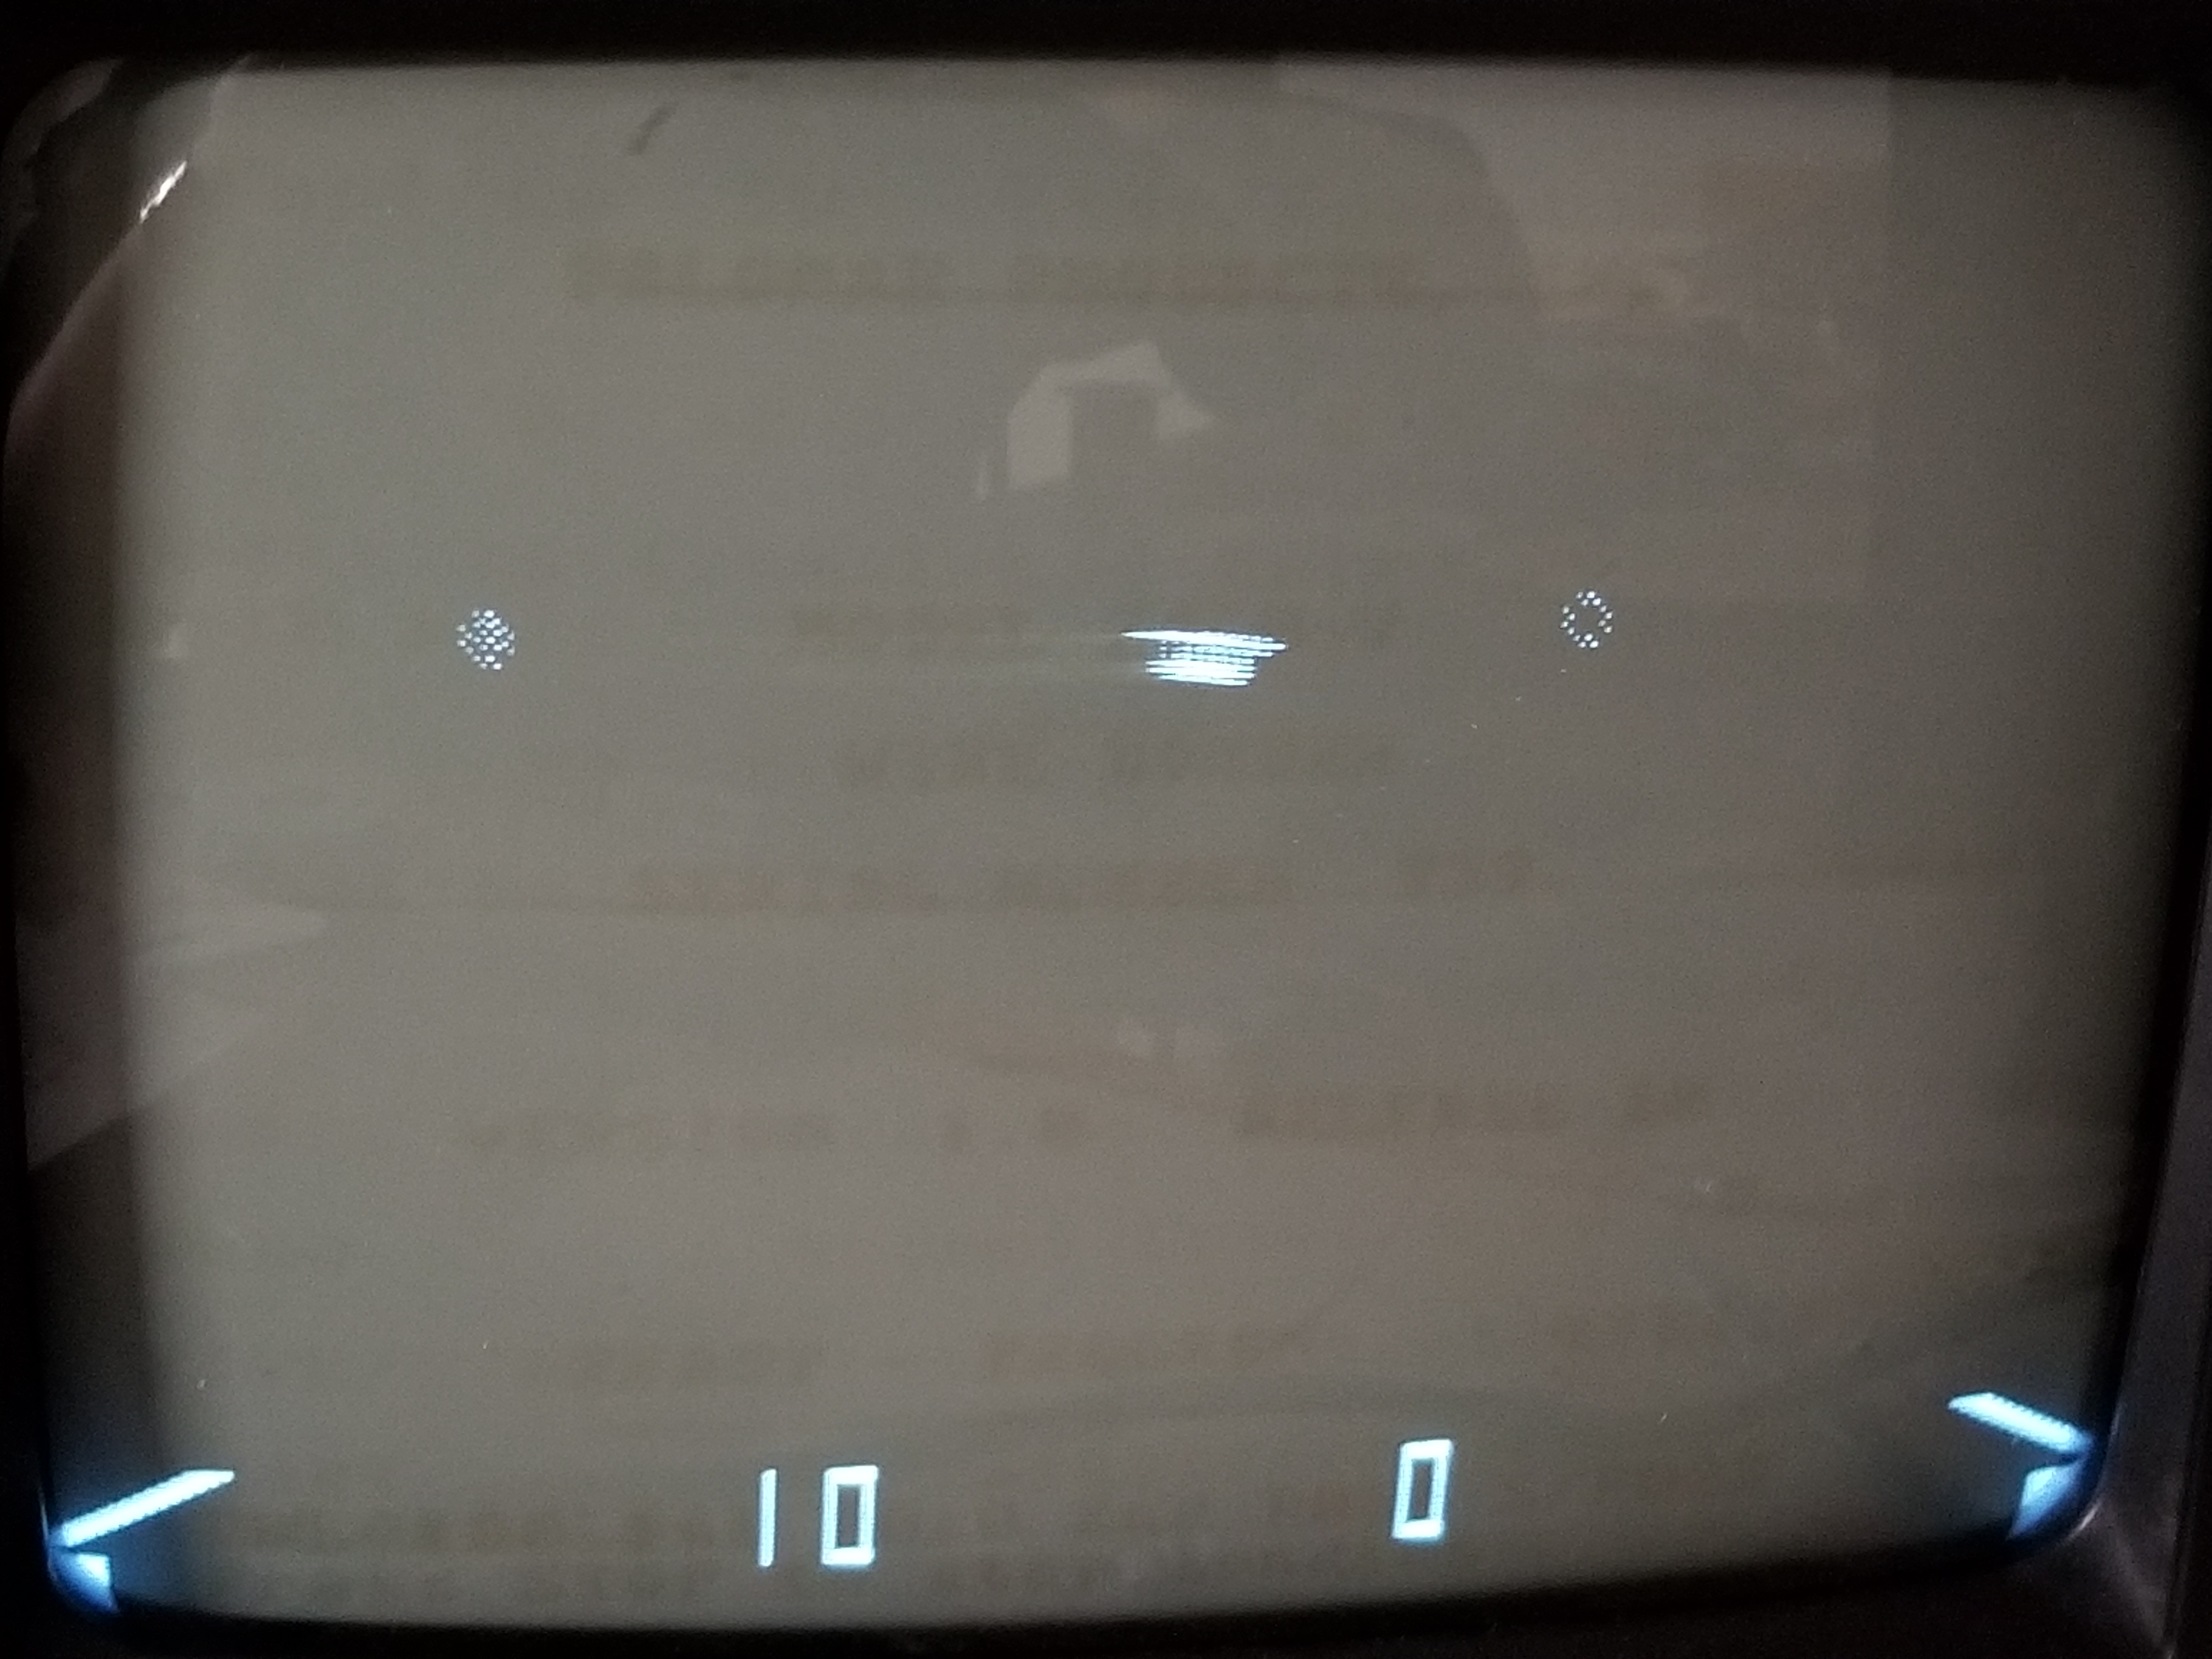

And it's done!
This page was last updated 1/5/2022
Spelling, grammar, and readability corrections.
This page was first written sometime during summer vacation in 2018.